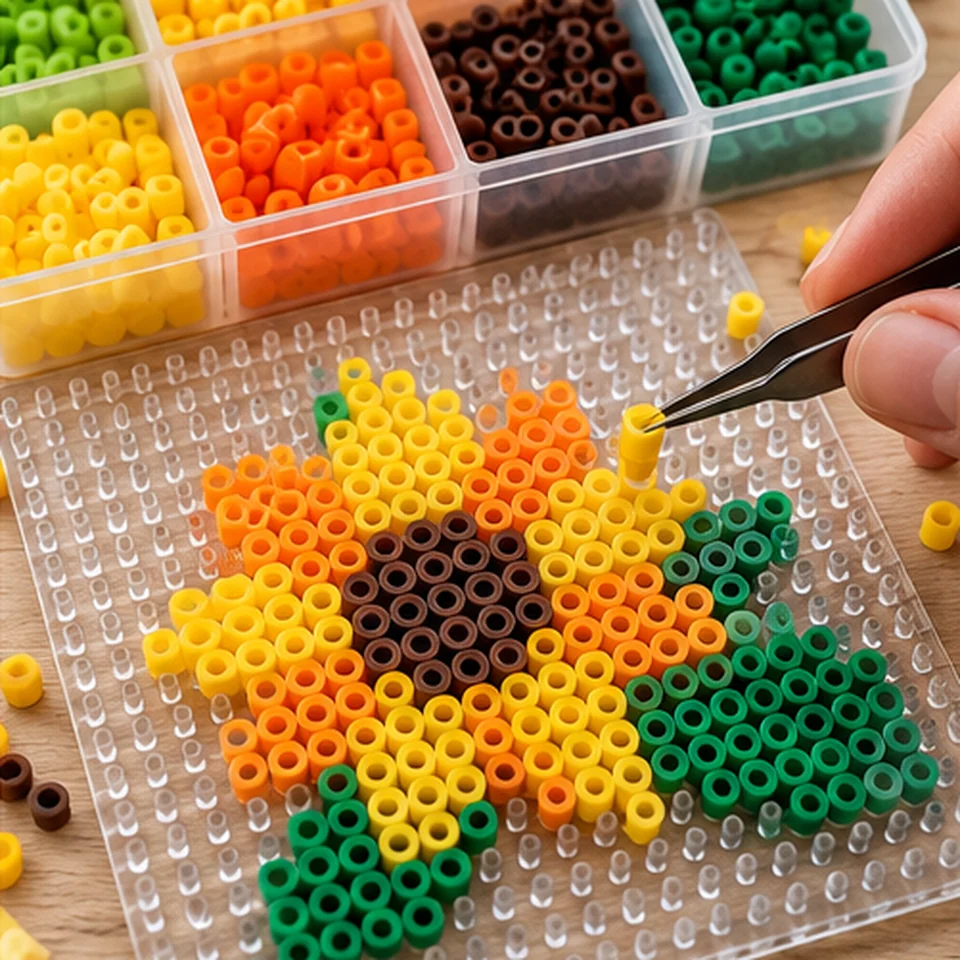
Fuse bead mosaic
A fuse bead mosaic uses a grid of small round pieces to turn an image into a handmade object. The generator assigns a letter to each color and calculates quantities so you can organize materials before you start. You can also use the chart for paper circles or other compatible craft pieces.
Open the generator ↗Materials you need
- Fuse beads Choose one bead size and compatible product range for your project.
- Suitable pegboard Check the board dimensions against the pattern before starting.
- Tweezers (optional) Helpful for placing small beads precisely.
- Printed PDF A colored preview, letter key and count for each color.
- Fusing supplies Only if your bead manufacturer calls for ironing; follow its safety instructions.
Step-by-step guide
01 / Understand the grid and quantities
Every grid cell stands for one bead, including any background you decide to keep. The pattern reports its width, height and quantity for every color.
A 32 × 24 design needs 768 pieces in total. Check how many pegs fit your board and whether you need more than one board or a smaller pattern.
Confirm the pegboard dimensions before buying bead packs.
02 / Choose colors that exist in your materials
The generator uses digital colors; it does not guarantee a direct match to a specific bead manufacturer. Choose the closest real shades and annotate your legend.
A smaller number of colors often makes the project easier to shop for and complete. Use a solid or simplified background when possible.
Compare bead colors under daylight rather than relying on screen colors.
03 / Place pieces using the letter key
Separate the beads into small labeled containers. Follow one row or color at a time, and use the PDF letters to prevent confusion between similar shades.
If your pattern spans multiple boards, keep their orientation consistent and confirm the alignment before connecting or fusing pieces.
Photograph the board before joining pieces, so you can fix any mistakes later.
04 / Finish using the right material method
For paper circles, use the adhesive suitable for the backing. For fuse beads, follow the manufacturer’s guidance for protective paper, heating and cooling.
Hot irons and heated plastics should be handled by an adult. Do not assume the technique is identical across brands and bead sizes.
Test a small spare arrangement before working on the full design.
Try this project: Starter project: a colorful flower
- Choose a simple flower photo.
- Create a 24-column pattern with six to eight colors.
- Check the board and count the needed beads.
- Arrange beads using the letter legend.
- Finish according to your material manufacturer’s instructions.
Check your result: The flower should have a clear silhouette and remain stable on its chosen backing.
Troubleshooting
Not enough beads
Use the quantity list to check stock before starting.
Colors do not match
Substitute real bead shades and annotate the legend.
Pattern exceeds the board
Reduce columns or plan a multi-board layout.
Rows get mixed up
Mark completed rows on the paper pattern.
What the tool cannot guarantee
Bead colors and board sizes are not tied to a manufacturer’s inventory. The tool calculates grid quantities, not packaging requirements or fusing settings.
Images you select for our generators are processed locally in your browser. We do not upload your photos to our servers.