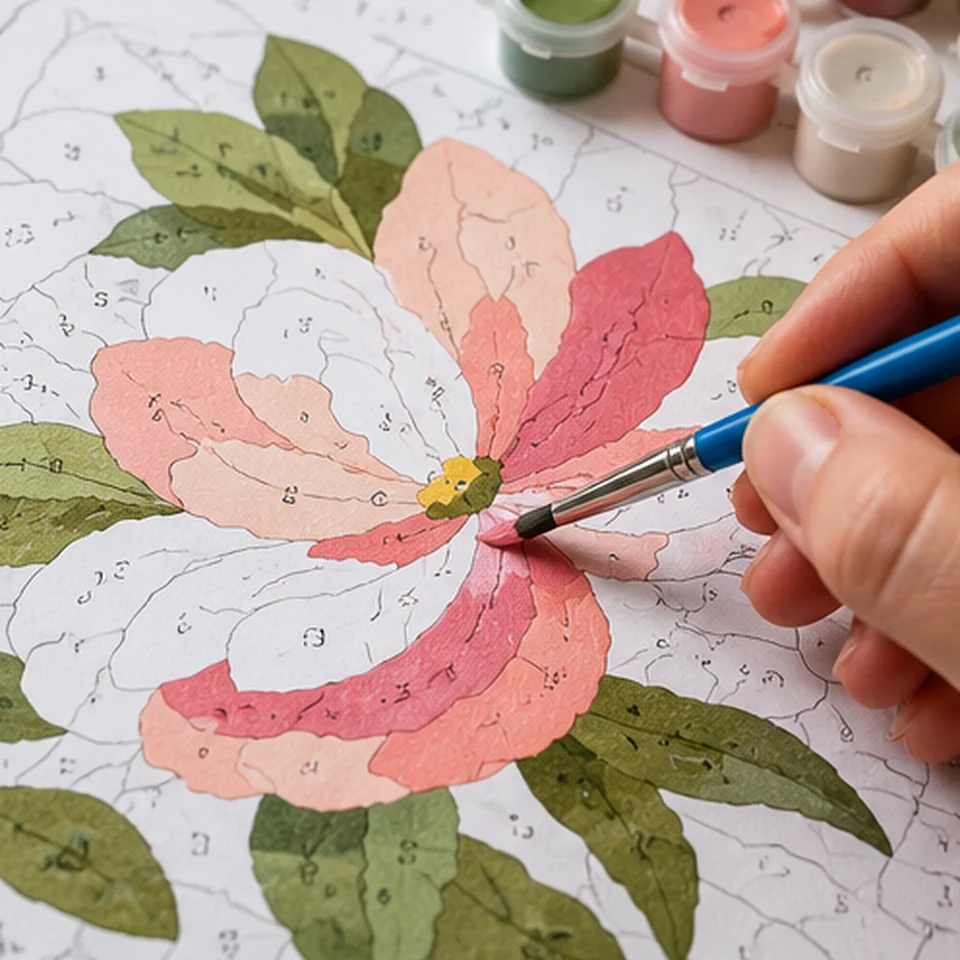
Paint by numbers
Paint by numbers turns a photo into numbered, irregular regions rather than a grid of squares. Each number points to a color in the legend. The automatic outlines work best with clear photos and need a careful check before you paint.
Open the generator ↗Materials you need
- A4 paper or painting surface Use thicker paper or a suitable canvas-like substrate for wet paint.
- Paint and brushes Start with six to eight colors and at least one fine brush for small boundaries.
- Palette and rinse water Keep mixes separate, especially between adjacent regions.
- Printed PDF Page one contains the preview and color key; page two holds the outlined numbered painting.
Step-by-step guide
01 / Simplify the photo
A photograph has continuous shades, but the tool must divide it into distinct areas. Busy photos can generate narrow slivers or tiny islands that are difficult to paint.
Begin with six colors and the simple detail setting. Check that the main subject remains recognizable before increasing complexity.
A simpler source photo often works better than adding more detail.
02 / Choose a practical paint palette
Color in the empty swatches with the paint you plan to use. Decide substitutions if your paint colors are different from the screen.
Painting larger regions first can help you establish the composition. Keep containers labeled when mixing several similar tones.
Test each mix after it dries; some paint shifts color while drying.
03 / Print at a readable scale
All numbered regions fit onto one A4 sheet. With highly detailed photos, numbers may be tiny or overlap; return to the simple mode when this happens.
Try a normal paper printout before using your final substrate. Check that the outline is visible but not so heavy that it dominates the painting.
Use a practice print if you plan to transfer the design to a different surface.
04 / Paint the boundaries first
Outline a small region with a fine brush, then fill it from the center outward. Avoid watery paint that runs into neighboring numbered areas.
Let adjacent wet regions dry before painting alongside them. For large areas, two controlled thin coats often work better than one thick one.
Turn the sheet as you work so that narrow boundaries stay comfortable to reach.
Try this project: Starter project: a simple landscape
- Find a photo with sky, hills and one clear focal point.
- Compare simple six-color and balanced eight-color versions.
- Choose the cleaner outlines and number key.
- Label your actual paint colors.
- Paint broad regions first, then small details.
Check your result: The foreground, background and main subject should remain distinct without dozens of tiny hand-corrected areas.
Troubleshooting
Very small regions appear
Reduce color count and detail or choose a simpler photo.
Important features disappear
Crop closer or increase detail cautiously.
Printed lines remain visible
Try a second compatible paint coat.
Colors look dull
Test paint on your final surface before covering large regions.
What the tool cannot guarantee
Automatic conversion does not replace a hand-illustrated paint-by-numbers design. Very fine shapes and overlapping numbers may require simplification.
Images you select for our generators are processed locally in your browser. We do not upload your photos to our servers.