Kinusaiga
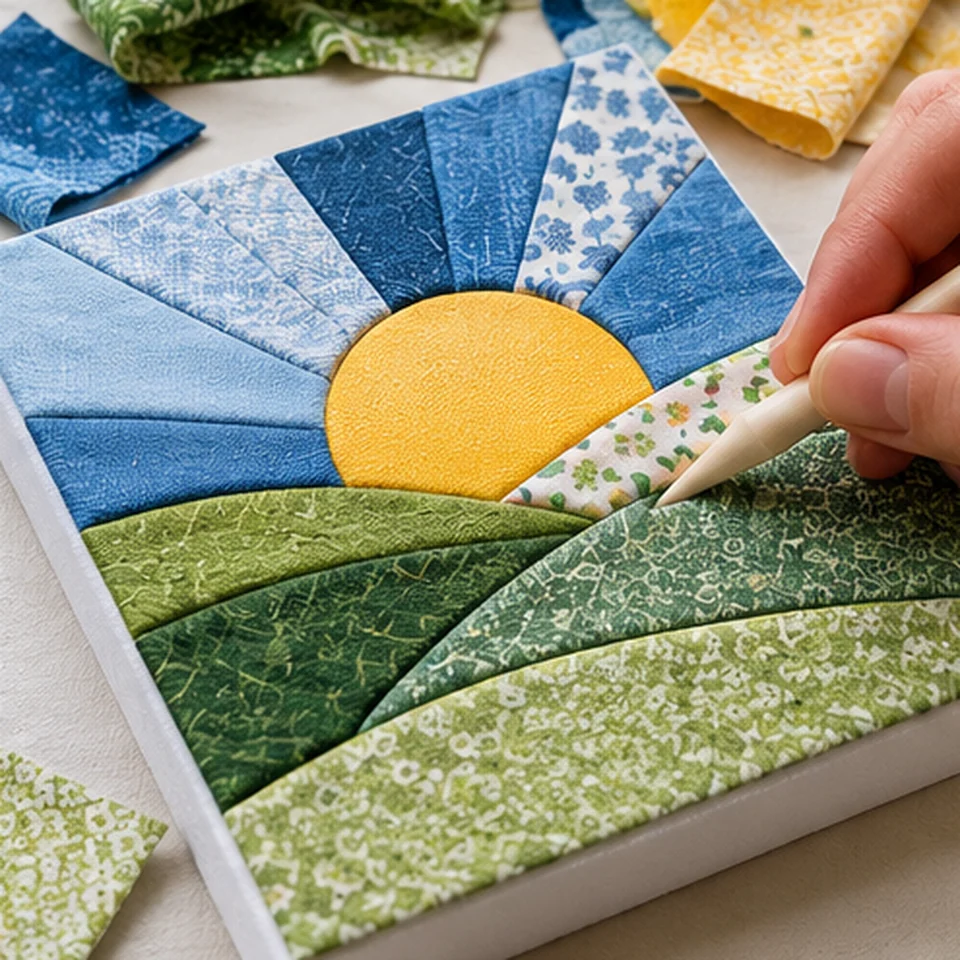
Kinusaiga is a Japanese no-sew fabric art technique. You form a picture by tucking fabric scraps into grooves cut into a suitable board. The generated pattern is a physical layout of pieces and groove lines—not a coloring sheet or an exact fabric-cutting template.
Open the generator ↗Materials you need
- Suitable rigid foam board Test a scrap before cutting grooves; your specific material determines the proper technique.
- Cotton fabric scraps Choose relatively thin, low-stretch fabrics and mix solids with small prints.
- A4 or A3 template Print at 100% and measure the 5 cm reference line.
- Tape and transfer materials Keep the printed design from moving while marking grooves.
- Cutting and blunt tucking tools An adult should handle blades and use a protected, stable surface.
- Scissors Trim fabric only after allowing enough margin to tuck it.
Step-by-step guide
01 / Understand pieces versus colors
Two pieces of fabric can be the same basic color but have different patterns or textures. Each numbered region on a kinusaiga template represents a physical shape.
The detailed version uses more pieces and joins. It is not always better: very narrow strips and sharp points may be hard to tuck into a board.
Place all planned fabrics next to the preview before cutting anything.
02 / Choose the board size and print to scale
The tool supports 15.24 cm and 18 cm square designs on A4, and a 20.32 cm square design on A3. The larger design needs A3 so ordinary printers do not cut it off.
Print at actual size—not Fit to page. Check the 5 cm calibration line with a ruler before transferring any grooves to the board.
Cut the foam base to size first, then verify that the printed outline fits exactly.
03 / Inspect narrow pieces and corners
A printable outline can still contain shapes that are impractical to build. Look for thin necks, acute angles and very small areas.
For a first project, select the simple version and an image with broad shapes, such as a landscape, flower or geometric motif.
If several pieces look impossible to cut or tuck, simplify the image before proceeding.
04 / Transfer and tuck safely
Secure the printed template to the board and mark the intended grooves according to the cutting method appropriate for your material. Test groove depth on an offcut first.
Cut fabric a little larger than the numbered region so the excess edge can tuck into the groove; around 6 mm is a reference only, and real margins depend on fabric and board. Use a blunt tool to tuck, then trim carefully.
Start with one broad piece without tight corners to learn how your board and fabric behave.
05 / Choose textures and finish the edges
A quiet print can add depth to a sky or a hillside without changing the main color. Avoid very large prints inside tiny pieces.
Finish the outer border according to the backing you use; edge pieces may require more fabric margin than interior pieces.
Small repeating prints work best on smaller shapes.
Try this project: Starter project: fabric landscape
- Choose a simple picture of sky, hills and a sun.
- Generate the simple template and select several compatible fabrics.
- Print at 100% and verify the 5 cm line.
- Test a sample groove on an offcut of board.
- Tuck larger pieces first, then finish the edges.
Check your result: The picture should be recognizable, grooves should be concealed and fabric should not bunch at the joins.
Troubleshooting
The template does not fit the board
Disable Fit to page and recheck the 5 cm calibration line.
Pieces are too narrow
Choose the simple version or an image with larger shapes.
Foam shows between fabrics
Check the fabric margin and tucking technique.
Fabric gathers in corners
Trim allowance carefully or choose thinner fabric.
Fabric slips out
Test board suitability, groove depth and tucking technique.
What the tool cannot guarantee
The tool cannot identify your fabrics automatically or guarantee every shape is practical for every foam material. Review the entire pattern before using sharp tools; blade use requires adult supervision.
Images you select for our generators are processed locally in your browser. We do not upload your photos to our servers.