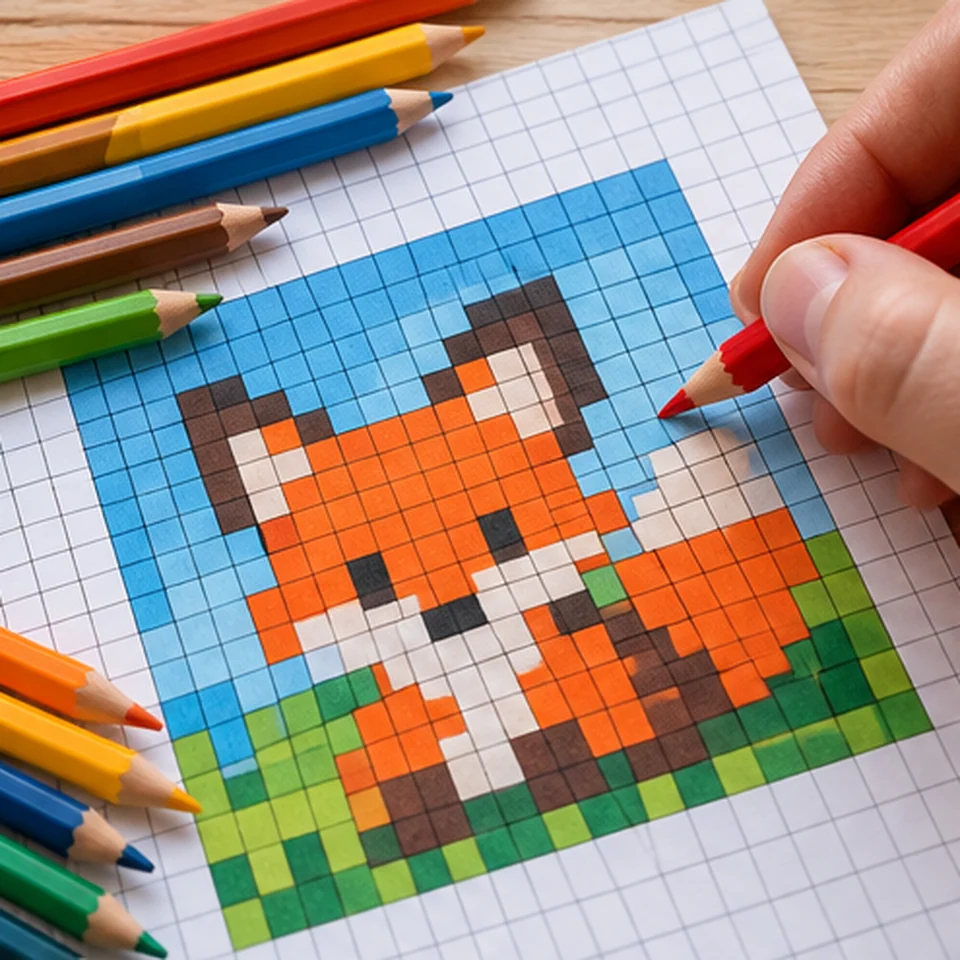
Color pixel art
Pixel art turns a picture into a grid of individually colored squares. A numbered printable pattern tells you which pencil or marker to use in each cell. The goal is a design you can follow easily, not a perfect reproduction of every pixel in the original photograph.
Open the generator ↗Materials you need
- A4 paper Ordinary printer paper is fine for pencils; use thicker stock for wet markers.
- Colored pencils or markers Start with six to eight clearly different colors.
- Ruler (optional) Helpful for drawing your own grid or keeping track of completed rows.
- Your pattern PDF The first page shows a color preview and key; the second contains the full numbered chart.
Step-by-step guide
01 / Choose a photo that works at small sizes
Start with a single recognizable subject, such as a flower, fruit, pet silhouette or bold letter. Crowded backgrounds and tiny faces need many more squares to remain legible.
A clear contrast between the subject and the background makes simplifying colors much easier. Crop the picture if the important object occupies only a small area.
Look at your photo as a thumbnail. If you cannot identify the subject, simplify the framing.
02 / Pick a practical grid and color count
The number of columns controls detail; the tool adjusts rows to the image proportions unless you select a square pattern. A 24 × 24 chart has 576 cells, while a 32 × 32 chart has 1,024—almost twice as many to fill.
Try 16–24 columns and four to six colors first. Increase the grid only if an important outline disappears. Too many similar colors can make a chart harder, not better.
The best pattern is the one you can comfortably finish.
03 / Use the preview and color key
The first PDF page shows the finished appearance and a numbered palette. Test your actual pencils or paints on the blank swatches if the shades do not match your screen.
The second page keeps the numbered pattern together on one A4 sheet. Print a test copy and check that you can read the numbers before starting.
Make a note of any color substitutions on the legend before filling your first square.
04 / Color each square carefully
Work by color or row, whichever feels easiest. Use light pencil strokes first, then build up color. For markers, test whether ink bleeds through the paper.
There is no need to outline every cell with black ink unless you deliberately want a strong mosaic look. Compare your progress to the preview rather than the full-size original photo.
Step back from your artwork occasionally: pixel art is meant to read at a distance.
Try this project: Starter project: a six-color flower
- Choose a flower against a simple background.
- Generate a 24-column pattern with six colors and the entire picture visible.
- Match the six swatches to pencils you own.
- Color the background, then work on the flower.
- Compare the result to the preview and keep the PDF for future versions.
Check your result: You should recognize the flower from about a meter away, even though individual squares are visible close up.
Troubleshooting
Numbers are too small
Reduce the number of columns or choose a less elongated picture.
Two colors look identical
Use fewer colors and increase contrast between shades.
The outline disappears
Crop closer to the subject or use a simpler background.
Paper wrinkles
Use thicker paper or less wet ink.
What the tool cannot guarantee
Colors are approximated digitally and are not exact matches for specific pencil, paint or marker brands. The output is a practical craft chart, not a full-color photographic reproduction.
Images you select for our generators are processed locally in your browser. We do not upload your photos to our servers.