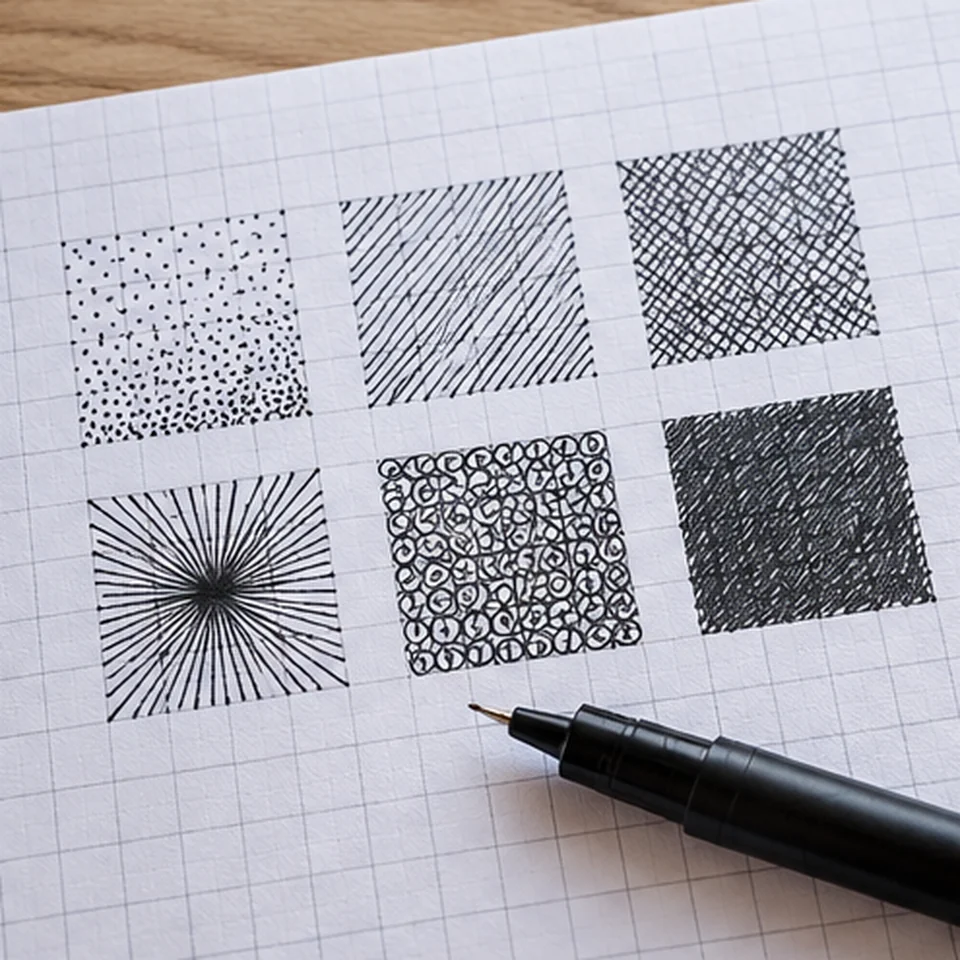
Six-mark drawing
This black-and-white drawing technique uses six repeatable pen marks to create areas of different apparent darkness. From nearby you see individual marks; from a distance they blend into an image. All you need is one black pen and a printable grid.
Open the generator ↗Materials you need
- Fine black pen Choose ink that does not smudge as your hand moves across the page.
- A4 paper Smooth, sturdy paper is best for the fully filled squares.
- Printed pattern One sheet previews the design; the second assigns a mark to each cell.
- Practice sheet Use it to rehearse the six gestures before drawing the real pattern.
Step-by-step guide
01 / Learn the six symbols
The code is fixed: 1 a dot; 2 a rising diagonal (/); 3 a falling diagonal (\); 4 an X; 5 a star formed from the X plus vertical and horizontal strokes; 6 a completely filled square.
The star and filled square contain more ink, so they are used for darker parts of the picture. Keep the six shapes consistent even when they seem repetitive.
Draw six large practice squares and make each symbol fit neatly inside its cell.
02 / Choose a high-contrast photo
Silhouettes, side profiles, buildings with strong shadows and simple still lifes work well. Evenly lit photos often lack the tonal separation this technique needs.
Check the preview from a distance. If the subject becomes unrecognizable, crop closer or try a photo with stronger highlights and shadows.
Judge the result at arm’s length, not only zoomed in on screen.
03 / Work row by row
Print the numbered chart. Place a spare sheet beneath it to protect the table, and use a ruler to track the row you are completing.
Draw an X with clean diagonal strokes, and make the star by adding vertical and horizontal lines. Fill the darkest squares with parallel pen strokes rather than scribbling. Allow wet ink to dry.
If you are right-handed, avoid dragging your palm over freshly filled squares.
04 / Let the marks create the shading
Similar mark size and ink thickness produce consistent shading. Enlarging one star or leaving a filled square half-empty changes the image.
The graphic effect comes from repetition. Keep the same pen and symbol order throughout your first design.
A dark outline around every cell is optional and can make the final image look busier.
Try this project: Starter project: an ink silhouette
- Find a dark subject against a light background.
- Start with 16 or 24 columns.
- Practice all six marks at the same size.
- Complete five rows and inspect the design from afar.
- Finish the grid and compare it with the generated preview.
Check your result: The image should become readable from a distance without gray ink or extra colors.
Troubleshooting
Everything looks equally dark
Try a photograph with more light and shadow.
Marks are too crowded
Reduce the columns and make the squares larger.
Ink smudges
Switch pens or allow more drying time.
Stars look inconsistent
Draw the X first, then add the vertical and horizontal lines.
What the tool cannot guarantee
This is not a true grayscale print. The effect depends on pen width, paper and how consistently the six marks are drawn.
Images you select for our generators are processed locally in your browser. We do not upload your photos to our servers.